
Product Countdown Time
Step 1: Create a metafield definition
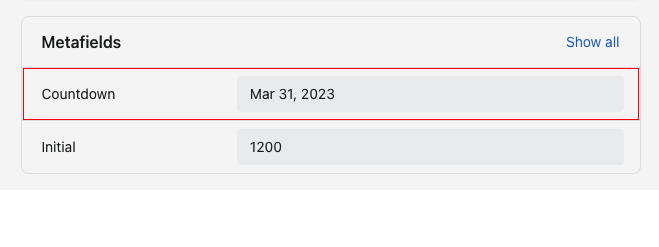
Step 2: Add values to metafields
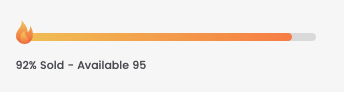
Sold - Available Bar setting
Step 1: Create a metafield definition
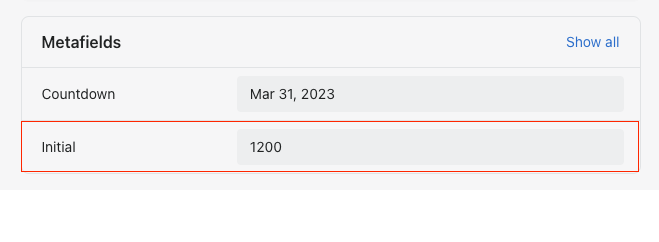
Step 2: Add values to metafields
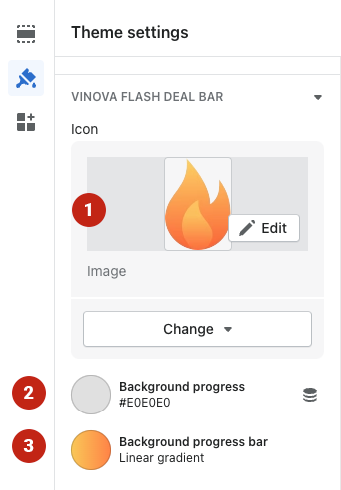
How To change icons on the Sold - Available Bar?

Last updated