
Main Menu
The Main menu is the menu on the Header. In this tutorial, we will show you how to set up the header menu and configure it like our demo. You can use this guide to set up your menu.
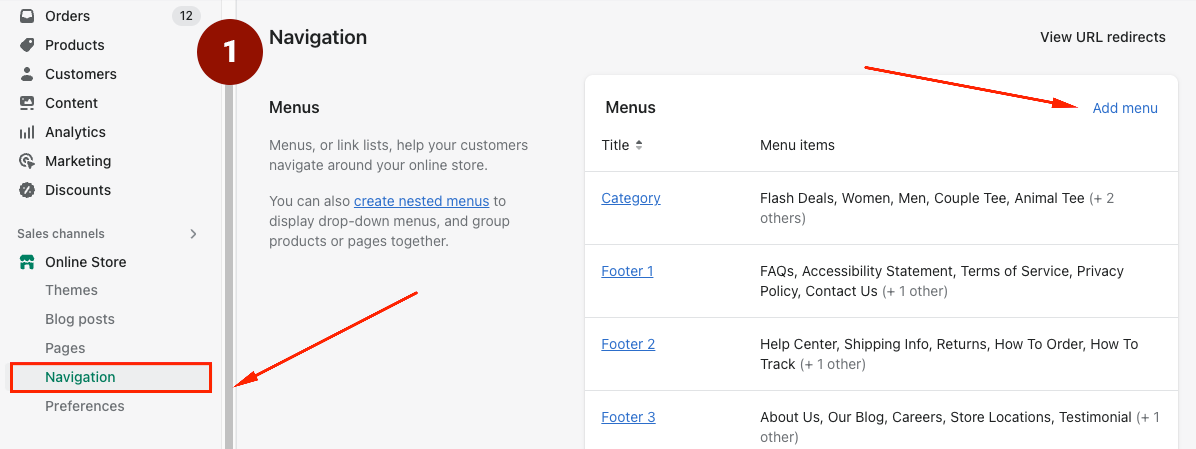
1 - Header Menu Settings
To configure the menu on the header, you must first create a menu. From Your Shopify Admin > Online Store > Navigation > Add Menu. (Please see photo #1).
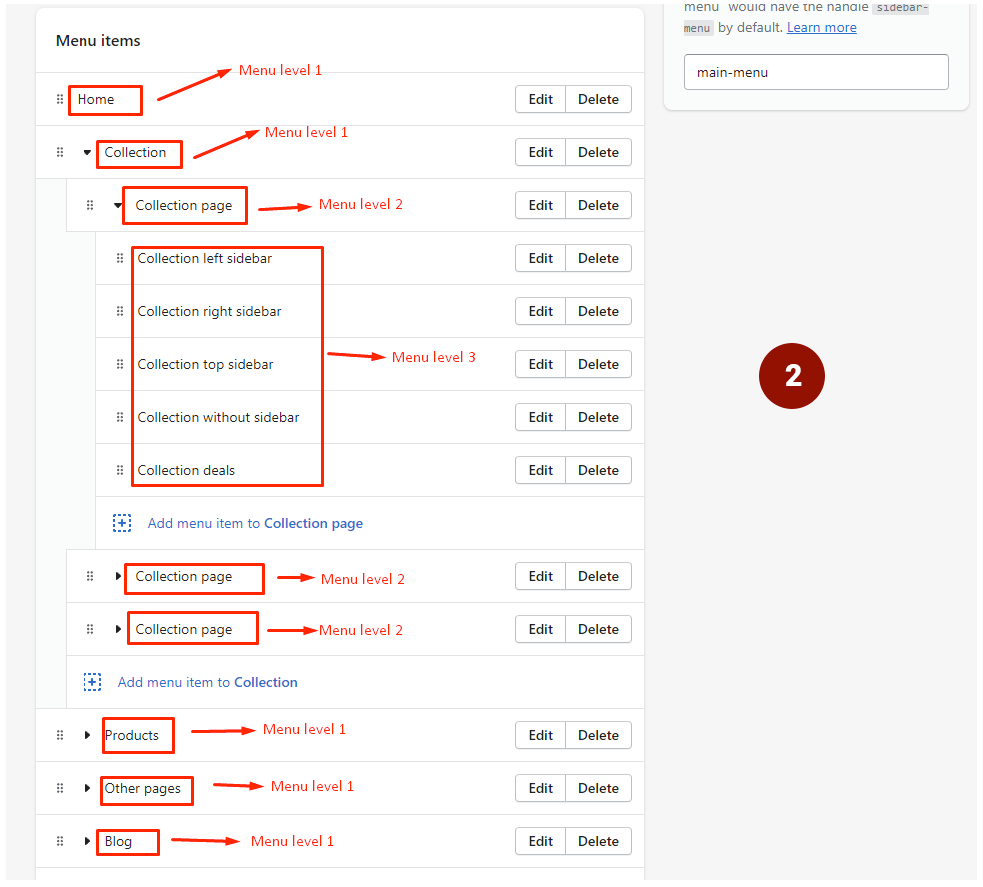
In the demo, we create up to 3 levels for a menu (Please see photo #2)
After creating the menu, leave the custom page and click on the Header Section (First section at the top). The customization panel of this section is on the right-hand side.
In the Custom Header panel, please scroll down, and you will see the "HEADER MENU" setting; please add the menu you just created here (Photo #3).

2 - Mega Menu Settings
Mega Menu menus with 3 levels or more. To configure, you need to add the block "Megamenu Item" > Please name this Menu item the same as the name of the Level 2 Menu (See Image below).
In the Mega menu block, there are items: menu, image, list collection, and product. You can customize it however you want.

3 - Video Tutorial
Note: Video uses images of TeeMate Theme. If you use any of our Themes, the steps are the same as in this guide. This guide guides setting up the Main Menu for all of our purchased Themes.
Last updated